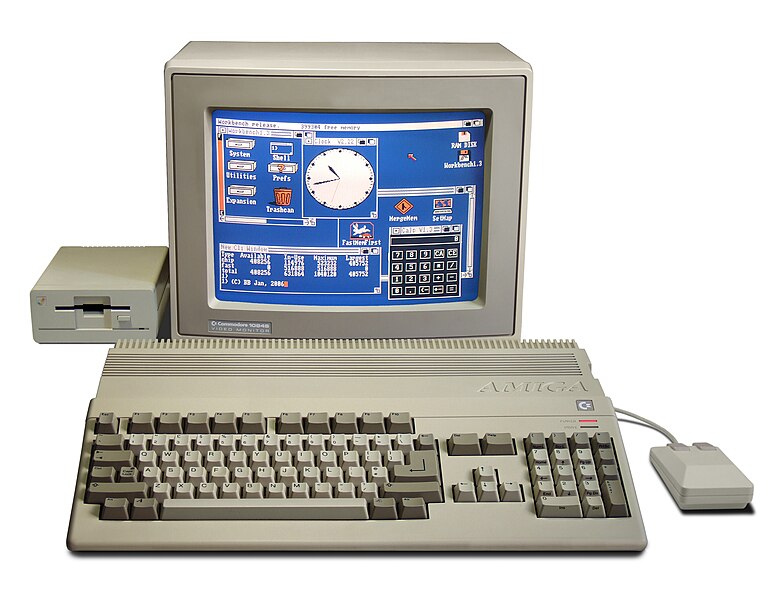
Ok, so I rummaged through my storage in South Africa and found my old Amiga once again. This was not the original one I used to have, this is an Amiga A1200, where I used to have the Amiga A500 back in 1986.
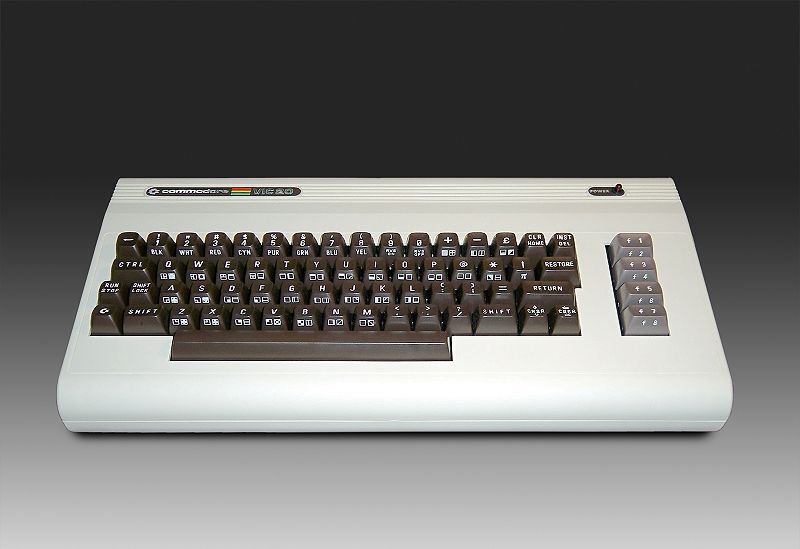
A bit of history, I started out with a Atari 2600 back in 1983 (was 10 years old at the time), then saw an advertisement for a cartridge that could do programming... this concept fascinated me, but we could never find it anywhere (it was hard finding the good stuff in South Africa). I settled for a VIC-20 soon afterwards (I sold my Atari), then upgraded to a Commodore C64 soon thereafter.


This lasted until 1986 (age 13) when, after countless months of pouring over Commodore User magazines, I decided I wanted an Amiga.

I had the choice between an IBM compatible XT (with two floppy disc drives but no graphics) or an Amiga. Both seemingly the same price, but due to the then apartheid-era restrictions and taxes, the Amiga turned out to be very troublesome to get to South Africa. My family persevered and I finally received my dream machine a few months later after having to sign all kinds of political documents etc.

I had my Amiga A500 all the way from 1986 through 1991, when I finally sold it to buy a 486 DX PC (which I promptly loaded with Slackware Linux). But while I had it, I learnt an incredible amount about programming, and on a system that was years ahead of its time. My pride and joy was a 3D CAD program (GUI/mouse/event driven) using orthographic,orthogonal, and 3D perspective (hidden surfaces removed and all) projections with transformations, rotations, and the works! (All sadly lost now)
I much later bought a newer Amiga A1200 from a friend, and put it into storage without using it much. This bring me to this past December, when I decided to take it with me back to the US and try to resurrect it.

And the "unboxing" begins:

I almost wanted to start powering it up (after replacing the plug), but thankfully I checked online and found that the Amiga power supply was not rated to work on both 120v and 240v, and I had the European PAL version. (The supply itself stated this as well... which was the first clue.)

After scouring eBay and reading horror stories I decided to build my own power supply using an ATX power source. But instead of using a standard PC power supply, which is both ugly and bulky, I decided to go the pico PSU road, these are tiny $30 ATX-compatible power supplies, but instead of using mains power, they require 12V DC.
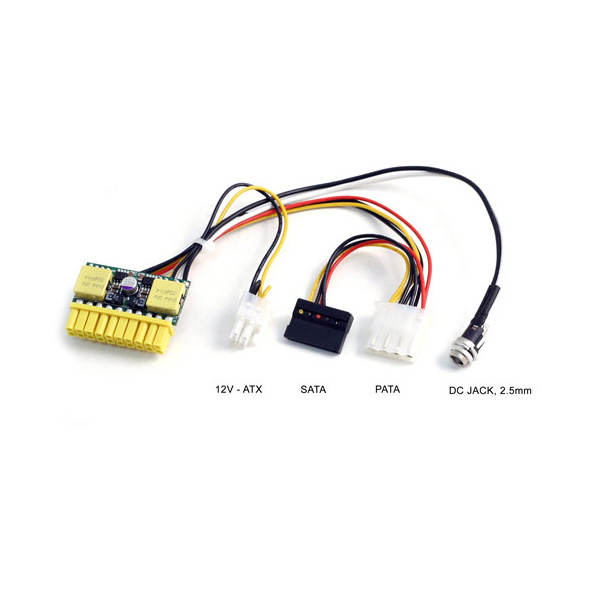
Which I then require a 12V / 8A (96W) power supply for as can be found easily for around $20 on Amazon. The Amiga can be a power hungry beast... needs loads of Ampere.
Then the work began, firstly I tested the pico PSU for all the correct voltages, and nothing... I tried everything from replacing the battery in my multimeter to testing my 12V power supply... I was about to return the pico PSU until I realized that it has an on/off switch (just like regular ATX). Close those pins, and voilà! I had my voltages. Now to connect all the pins of the ATX pinouts:

(This site really helped me a load for this project.)
I then too it all apart, trying to preserve as much of the original as I could:

Meticulous soldering, heat-shrink tubing, and a little bit of drilling and mounting:

Resulting in the finished product:

I had to use the original power cable as the Amiga used a non-standard DIN connector as power plug. I had the option of building it into the A1200 (as it was so tiny) and leave the 12V supply external, or alternately I could have forced the 12V supply into the space of the original Amiga power supply (that would have damaged it a lot), but opted for this as it was easier to replace/fix in the future.
After testing all the voltages again one final time (and then fixing a problem), then tested for the really, really last time, it all looked good. I connected it up and switched on and was greeted with this lovely sight:

PS: This image without me adding the GVP 4 MB internal acceleration/expansion... pushing it up to a total of 6MB.
time passes....
After working with the Amiga for about a day now, I noticed the following:
- The graphics has some weird warping effects around the mouse as it moves, and the image is not clear around high detail. I'm assuming it is due to some processing in my DELL UltraSharp monitor. Probably due to me using the weaker composite output on the amiga, instead of the (proprietary) RGB/SCART connector. (I totally ignored the RF out, naturally) I'm going to try and buy a RGB to VGA connector which should increase the quality tremendously and also improve the interlaced modes.
- The Hard drive (200MB) just crashed. (perhaps it was a virus...), But I have a plan to replace the Hard drive with 2x 4GB Compact Flash cards running on a custom-made 44-pin IDE controller.
If all this is done, my total cost will be around $90... What will I do with it? Dunno... Play games perhaps. Mostly I want to try and resurrect most of my old programs I wrote as a teenager. Review my code quality and leave comments, you know...
Comments